If you want to prepare your AC for summer before the first heat wave arrives, a few simple maintenance tasks can improve airflow, reduce strain on your system, and help prevent unexpected breakdowns. This DIY checklist works for central air conditioners, heat pumps, mini-split systems, and many window units. Most homeowners can complete these steps in about 30 to 60 minutes using basic household tools.
What You’ll Need Before You Start
Before you begin, gather a few basic supplies:
- Correct-size air filter
- Flashlight and vacuum
- Garden hose (gentle flow)
- Gloves and eye protection
- White vinegar and warm water
If your system has not had a professional tune-up within the last year, or if you notice cooling issues during the final test run, professional maintenance may help identify problems before peak summer temperatures arrive. You can learn more about our air conditioning services or continue with the checklist below.

Step 1: Shut Off the Power
WARNING: Cut power to the outdoor unit before you start. Unexpected startup during maintenance can cause serious injury.
- Identify your system: Central ACs, heat pumps, and mini-splits have outdoor units. Window AC units can typically be disconnected by unplugging them from the outlet.
- Thermostat: Set it to Off.
- Disconnect: Find the outdoor disconnect box near the condenser and pull the switch, or flip the main breaker.
- DIY boundary: Do not open electrical panels.
Verification: The outdoor unit is completely silent before you proceed.
Step 2: Change the Air Filter
Start with the air filter. Replace your disposable filter or wash your reusable one. Match the exact dimensions printed on the old filter’s frame. Install the new one with the airflow arrow pointing toward the blower.
High-MERV filters capture more pollutants, but they can also restrict airflow and increase static pressure if your system is not designed for them. Unless your HVAC technician recommends a different filter, stick with the same rating currently approved for your system.
Changing your filter regularly also keeps your indoor air cleaner. If air quality is a concern, the same habits that keep your AC running well can help improve your home’s air quality year-round.
Verification: The filter sits flat with no gaps, and vent airflow feels normal.
Step 3: Clear Your Airflow Pathways
Walk your home and confirm all supply vents are open and clear of furniture, rugs, or drapes. Then check that return grilles are unblocked. Restricted returns cause system icing and poor cooling performance.
Even a clean air conditioner can struggle if vents or return grilles are blocked. Proper airflow allows conditioned air to circulate evenly throughout your home and helps prevent unnecessary strain on the blower motor.
Vacuum dusty vent covers to restore airflow. Watch for warning signs like whistling, weak airflow from certain rooms, or sudden temperature imbalances between floors.
Success check: Consistent airflow room-to-room throughout the house.
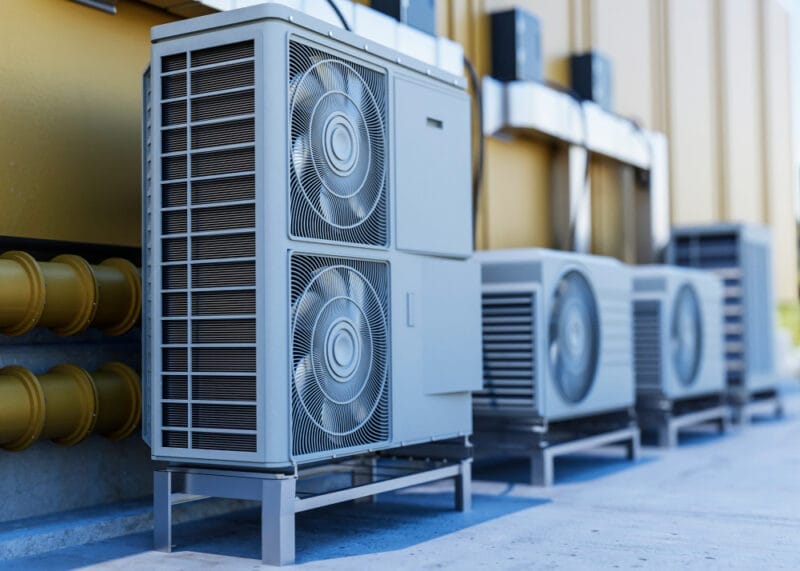
Step 4: Clean the Condenser Coils
Why You Should Avoid Pressure Washers
Never use stiff wire brushes or pressure washers on condenser coils. Both can bend the delicate aluminum fins that help transfer heat, reducing system efficiency and potentially leading to higher energy costs.
- Clear debris: Remove leaves, dirt, and any growth within 2 feet of the unit.
- Rinse: Gently spray coils with a garden hose from the outside in.
- Straighten fins: If fins are crushed, use a fin comb to restore proper airflow.
Success check: Coils look clear and the fan spins without rubbing or rattling noises.

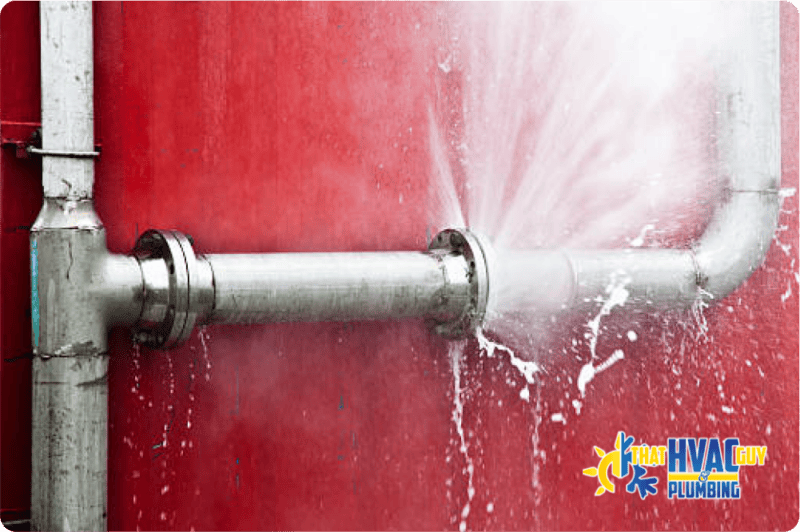
Step 5: Inspect the Refrigerant Lines
Check the large insulated copper line running from your outdoor unit to the air handler. Replace any sections of damaged or missing insulation. For mini-split systems, also clean the indoor air handler screens and clear any outdoor blockages.
Damaged insulation on refrigerant lines allows energy loss and can make your system work harder to achieve the desired temperature.
Look for rubbing lines, loose connections, or signs of physical damage from yard work or wildlife. Call a professional if you notice hissing sounds, oily residue, or ice forming on the lines.
DIY boundary: Never open service valves or attempt to add refrigerant. Refrigerant handling requires EPA certification.
Success check: Insulation is continuous and all lines are secured.
Step 6: Clear the Condensate Drain Line
WARNING: Do not use bleach to flush your condensate line. Bleach cracks plastic drain pans and causes leaks.
Check the area around your air handler for musty odors, dampness, or standing water. These are signs of a blocked condensate line.
- Confirm the drain line has no kinks.
- Vacuum the outdoor drain outlet with a wet/dry vac.
- Flush with warm water mixed with white vinegar.
If clogs or leaks persist after flushing, it is time to call a technician. Ignoring a blocked drain line leads to water damage and mold growth inside your air handler.
Success check: Dry floors around the air handler and normal indoor humidity.
Step 7: Run a Test Performance Check
The final step is a live system test to confirm everything is working before summer heat arrives.
- Thermostat: Insert fresh batteries and program your summer cooling schedule.
- Test run: Switch to Cool mode and run the system for 10 to 15 minutes.
- Listen: Note any buzzing, grinding, or burning smells during startup.
- Verify: Vents should blow consistently cold air within a few minutes.
If everything checks out, your AC should be ready for the demands of summer. If you notice weak airflow, unusual noises, warm air, or inconsistent temperatures, it is a good idea to schedule a professional inspection before the problem becomes more expensive to repair.
Schedule Your Summer AC Tune-Up
Frequently Asked Questions About Summer AC Prep
How Often Should I Change My AC Filter in the Summer?
Check your filter monthly during high-use summer months. Replace it every 30 to 90 days, or sooner if you have pets or seasonal allergies. A clogged filter is the single fastest way to reduce your AC’s cooling efficiency.
Is a Higher MERV Filter Always Better?
No. Higher MERV filters do capture more pollutants, but they also restrict airflow and put more strain on your blower motor. Do not upgrade to a very high MERV filter without confirming your system can handle the added resistance.
Can I Hose Off My Outdoor AC Unit?
Yes, but keep the pressure low. Always shut the system power off first. Use a standard garden hose instead of a pressure washer, which will bend the delicate cooling fins. Maintain at least two feet of clear space around the unit.
What Smells or Noises Mean I Should Shut It Down?
Shut off your system right away if you notice burning odors, grinding noises, repeated breaker trips, or ice buildup on the unit or refrigerant lines. Standing water or leaks near the indoor air handler also call for an immediate shutdown and a call to a pro.
Can I Do an AC Tune-Up Myself, or Should I Hire a Pro?
You can handle basic tasks like filter changes, clearing debris, and hosing off the condenser. A licensed HVAC service is required for refrigerant charges, electrical diagnostics, and full system testing. If your system is more than 10 years old, a professional inspection is worth the investment before peak season.
When Should I Start Preparing My AC for Summer?
Ideally, homeowners should prepare their AC for summer during spring before temperatures begin to rise consistently. Completing basic maintenance early gives you time to identify airflow problems, clogged drain lines, worn components, or cooling issues before your system is needed every day.
That HVAC Guy provides air conditioning maintenance, repairs, and system evaluations for homeowners throughout Montgomery County. Whether you need AC repair in Montgomery County, PA or HVAC service in Fort Washington, PA, our team delivers straightforward recommendations and upfront written estimates before any work begins.
Ready to get your home summer-ready?